Hiking Around Las Vegas, Desert National Wildlife Refuge
 Visitor Center front door (view N) |
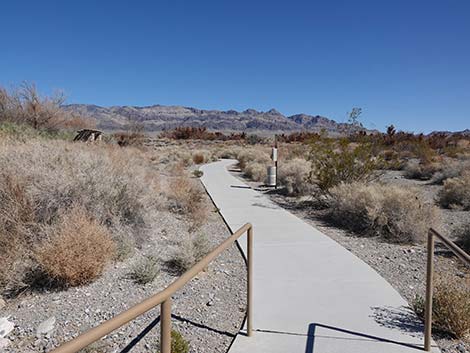
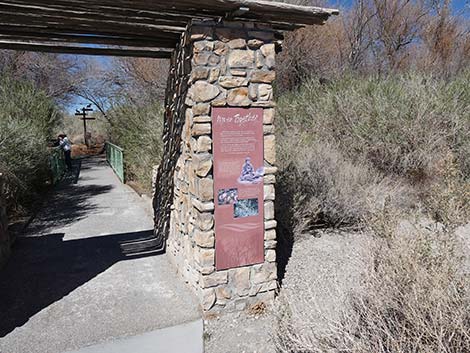
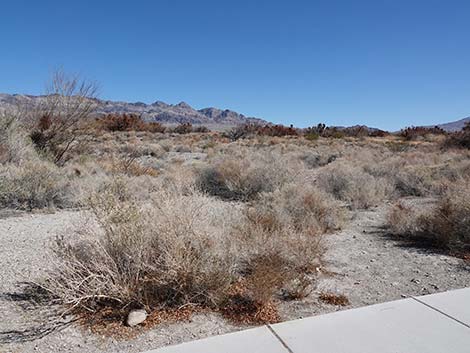
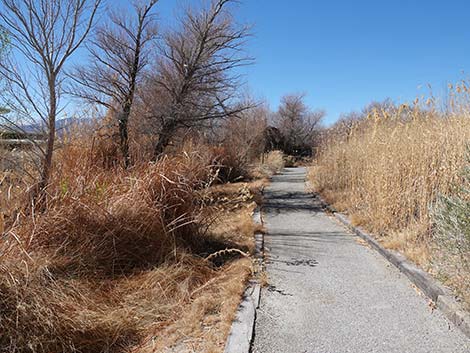
Overview The Jackrabbit Loop Trail is a 0.11-mile ADA compliant trail that loops through a nice part of the Corn Creek area. Getting to and from the parking lot makes the hike about 0.22 miles total. Corn Creek has been a birdwatching destination for decades, and now the Jackrabbit Loop Trail opens a bit of this area to persons in wheelchairs or with other walking issues, or just for people with little time to explore the area. The trail has interpretive signs describing the ecology and human history of the area. This trail provides a short, but nice introduction to the Corn Creek area. Corn Creek is a tiny spot of green in a vast sea of desert-dry Mojave Desert Scrub. Springs provide water for trees, lush vegetation, desert wildlife, and even humans over the last few thousands of years. The ancients left their marks on the land, but most evidence of human use derives from pioneer and more recent times. Link to Map. |
 On the right: restrooms and to-the-trails! (view E) |
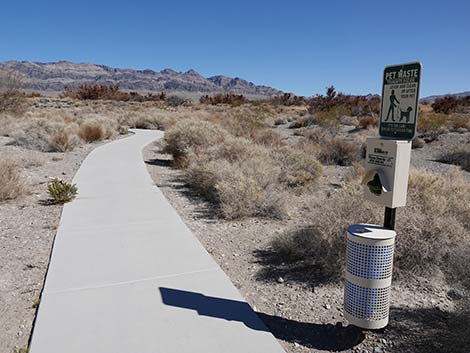
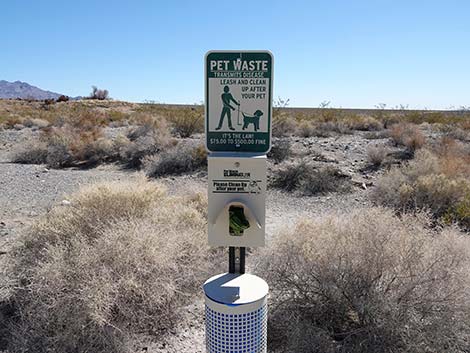
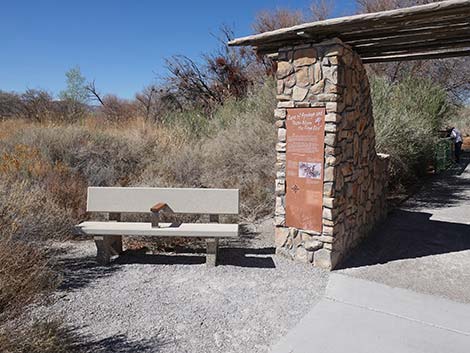
Watch Out Other than the standard warnings about hiking in the desert, ... this is a fairly safe hike if hikers stay on the designated trails as requested by refuge management. The Jackrabbit Loop Trail is fairly level, although the first half generally is uphill, and the second half generally is downhill. The surfacing is smooth; part is concrete, and the rest is firm. There is one bench where people can sit and rest. While hiking, please respect the land and the other people out there, and try to Leave No Trace of your passage. Even though this trail is short, bring what you need of the 10 Essentials. Also, this is a wildlife refuge, so pay extra attention to respecting the land and wildlife. |
 Porch wraps around the building to the trails (view N) |
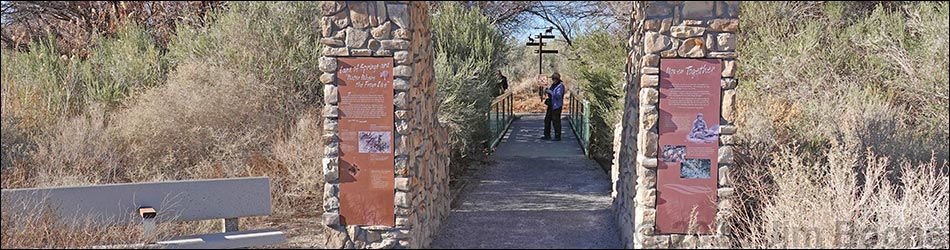
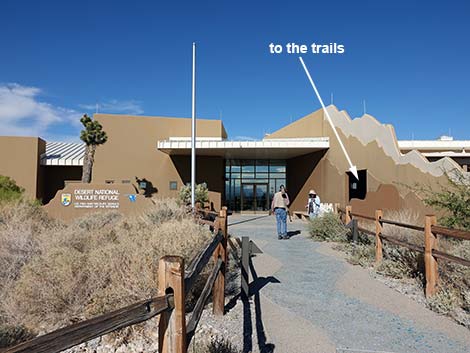
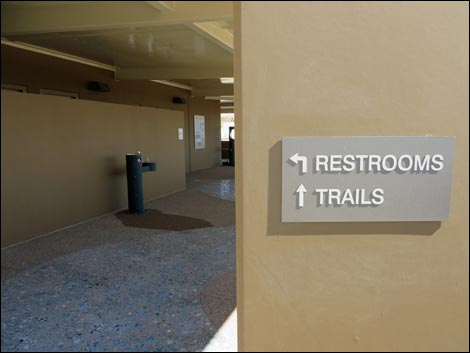
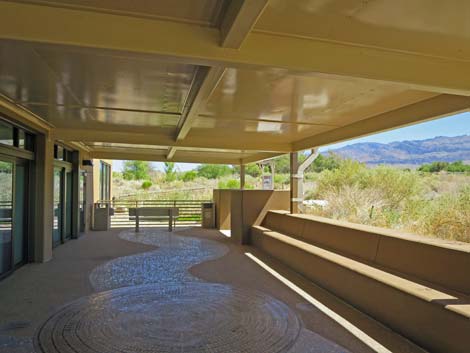
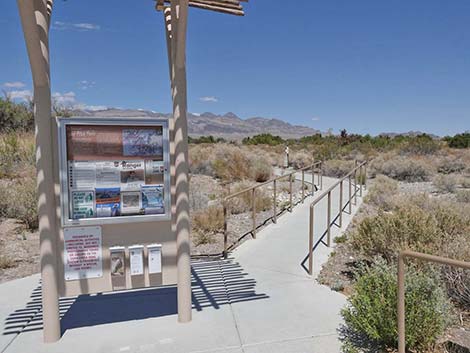
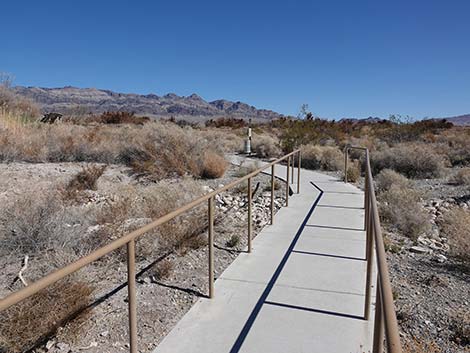
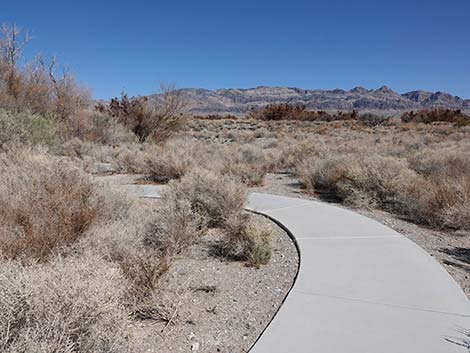
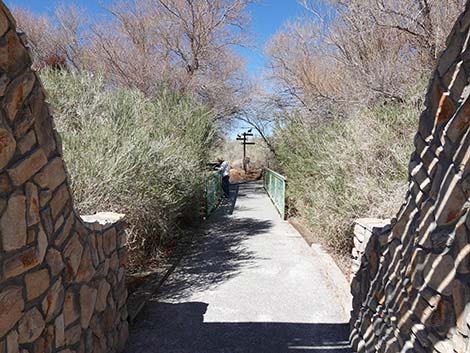
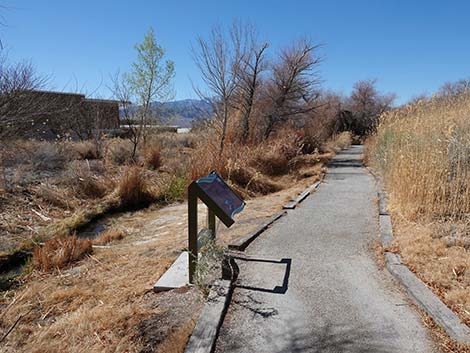
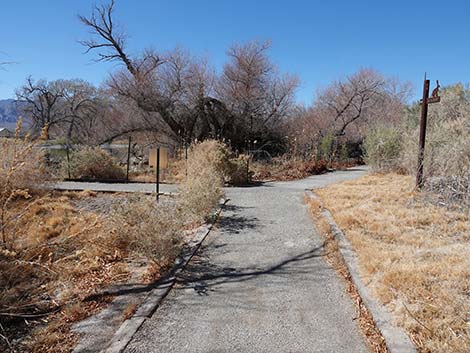
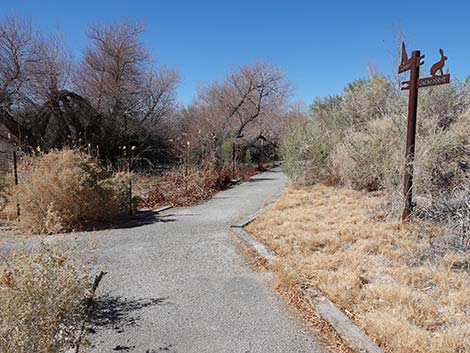
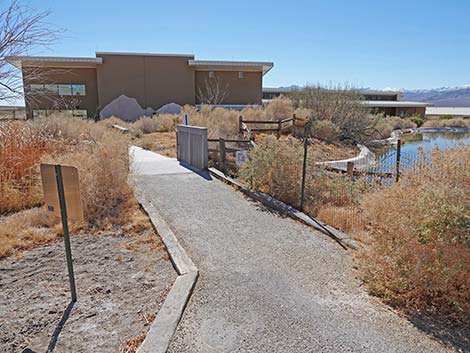
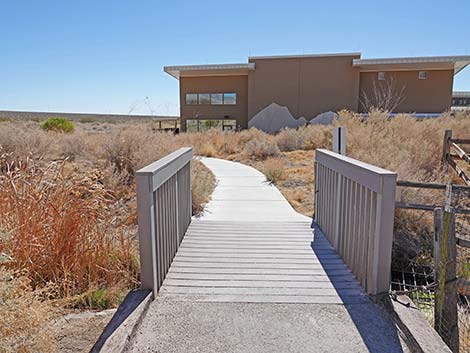
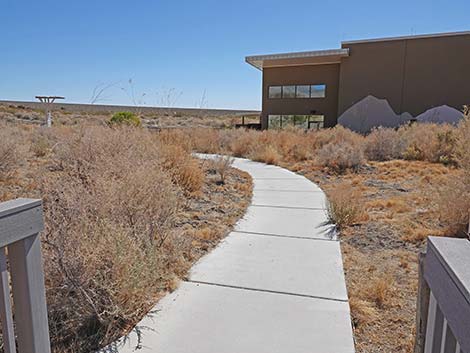
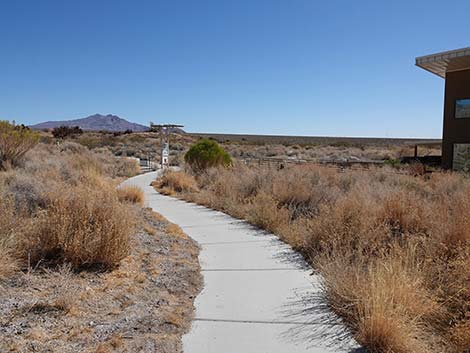
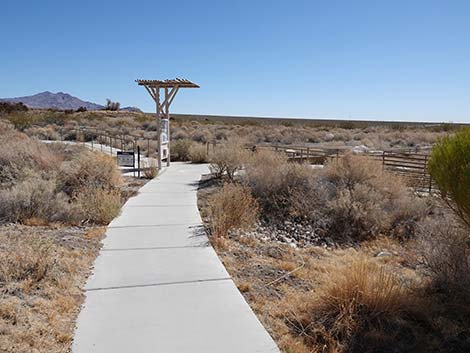
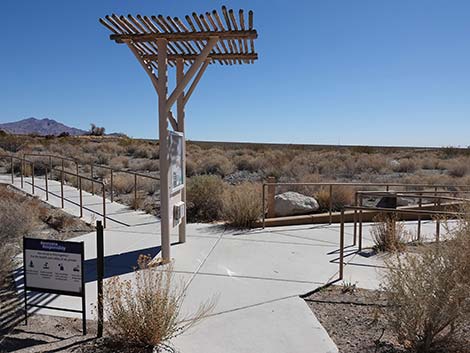
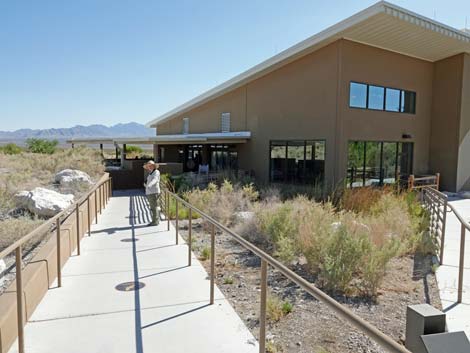
Getting to the Trailhead The Jackrabbit Trail is located northwest of Las Vegas on the Desert National Wildlife Refuge behind the Corn Creek Visitor Center. This is about 30 minutes northwest of downtown Las Vegas. The Hike From the parking lot (Table 1, Waypoint 00), hikers can walk through the Visitor Center and out the back of the building, or they can walk through the covered patio outside the Visitor Center (through a doorway leading to a rest rooms and drinking water) to the northeast (far) corner of the building. A few steps beyond the covered patio, the concrete trail arrives at a trail junction with an information kiosk (Wpt. 01). Here, the Jackrabbit Trail angles right and runs east towards the mountains. The trail winds out, then bends left and arrives at an entrance archway with a bench where people can sit and gaze out over the desert landscape while listening to the sounds of a gurgling brook in the background. |
 Walkway to the trails (view N) |
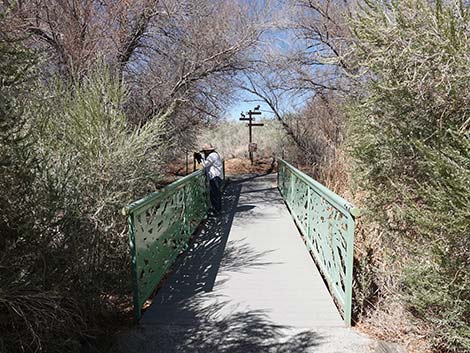
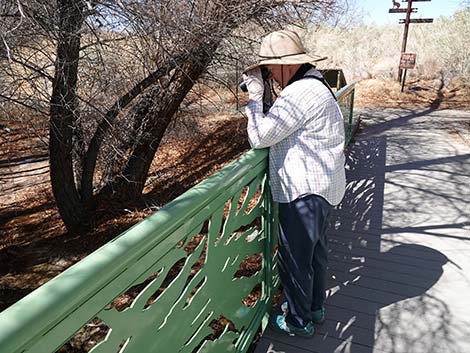
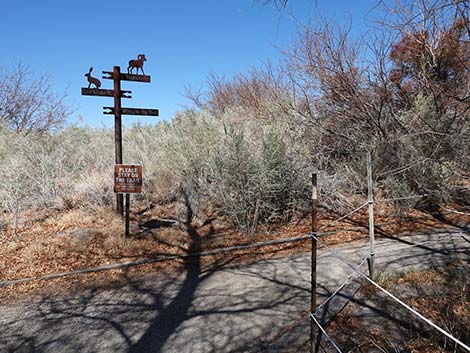
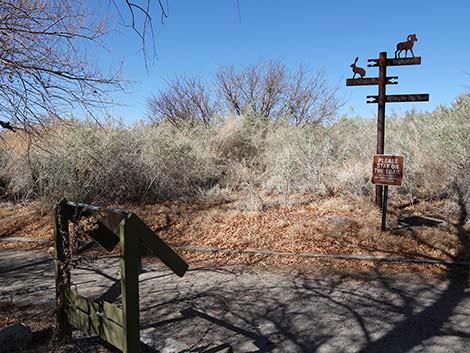
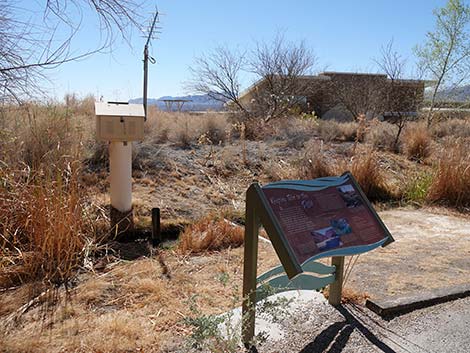
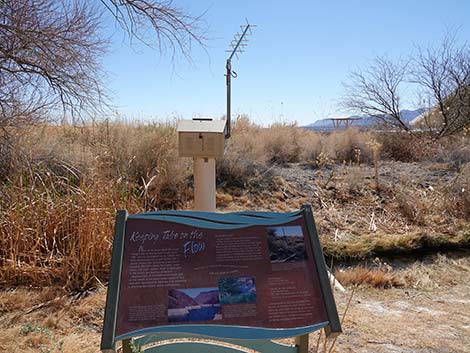
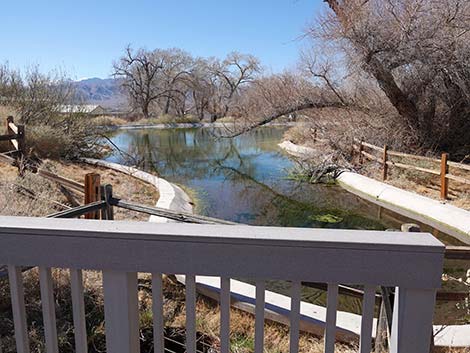
Walking under the entrance arch, hikers start across a bridge over "Corn Creek," the actual stream. The spring is about 30 yards up (right) from the bridge, but the vegetation is so thick that the spring is not visible. Hikers can look into the water hoping to see dragonflies, crawdads, and perhaps a few thirsty birds. Just over the bridge, the trail reaches a signed trail junction (Wpt. 19). The Jackrabbit Trail turns left (west), while the Bighorn Trail turns right (east) to make a longer loop. The Bighorn Trail also leads to the Whispering Ben Trail. Continuing to the left, the Jackrabbit Trail runs down along Corn Creek. Here, thick willows and cattails continue to block views of the stream, but soon there is a break in the vegetation at a USGS stream gauge. The gauge continually measures the water flow over a small, metal -and-concrete dam and transmits the information to scientists. This open area is even better than the bridge for spotting dragonflies. Continuing west, the Jackrabbit Trail runs down a few yards to a signed trail intersection (Wpt. 02) with the Coyote Trail. The Jackrabbit Trail turns left towards a second bridge that crosses back over Corn Creek. |
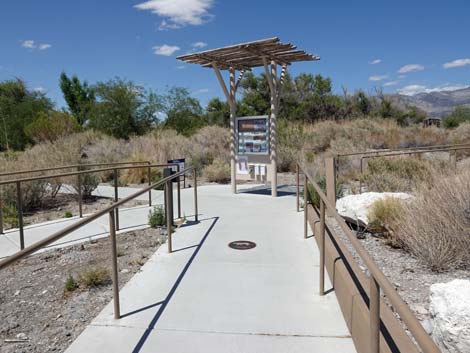 All trail runs out to an information kiosk (view NE) |
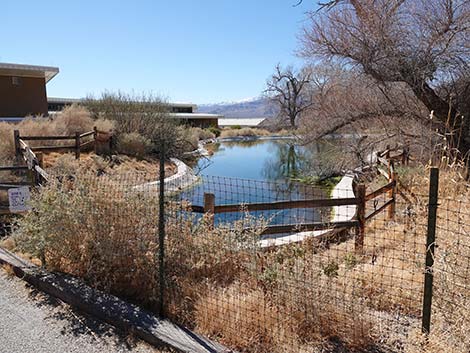
The second bridge provides a nice view across the southern end of the Cement Pond. The pond was constructed to provide refuge habitat for Pahrump Poolfish, which were moved here after their original spring dried down several years ago. The large, circular drain adjacent to the bridge was designed to prevent crawdads in the stream from getting into the pond and eating the rare fish. The Cement Pond is also a good place to look for birds coming in for water in this arid environment. Watch for waterfowl, wading birds, and smaller birds coming to drink and eat aquatic bugs. You might find a heron stalking the rare fish too. Coyotes often leave evidence of their presence near the edge of the water. Continuing across the bridge, the trail runs south and returns to the information kiosk (Wpt. 01) passed at the start of the loop. From the kiosk, one trail runs to the backdoor of the visitor center, and another runs to the covered patio. Assuming the visitor center is open, both routes lead back to the parking area (Wpt. 00). |
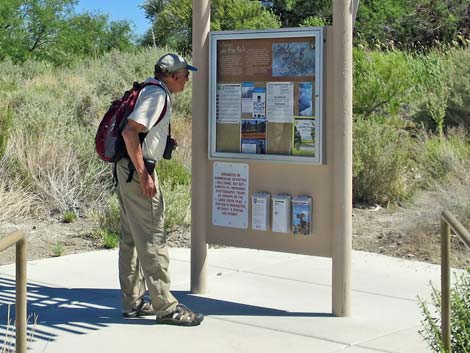 Birder at information kiosk (view NE) |
 Start of the Jackrabbit Trail Loop (view NE) |
 Jackrabbit Trail runs out between the railings (view NE) |
 The Jackrabbit Trail winds out into the desert (view NE) |
 Jackrabbit Trail at pet waste station (view E) |
 Pet waste station: don't leave poop on the ground (view E) |
 Jackrabbit Trail bends to the left (view NE) |
 Jackrabbit Trail approaching the entrance veranda (view NW) |
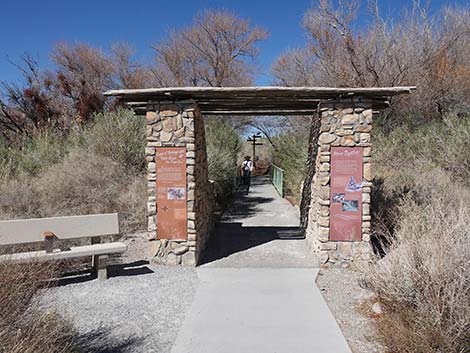 Jackrabbit Trail at bench and entrance archway (view NW) |
 Right information sign (view NW) |
 Bench and left information sign |
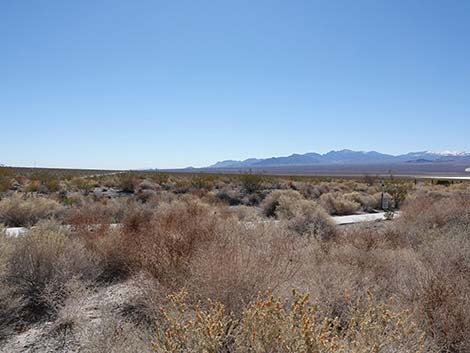 Spring and LaMadre Mountains (view SW from the bench) |
 Sheep and Las Vegas Mountains (view SE from the bench) |
 Under the veranda (view NW) |
 Beginning of the bridge over Corn Creek (view NW) |
 Birder on the bridge looking for fish |
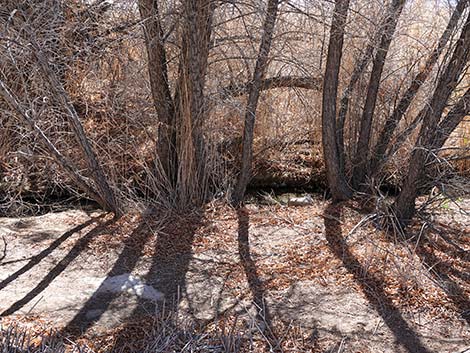
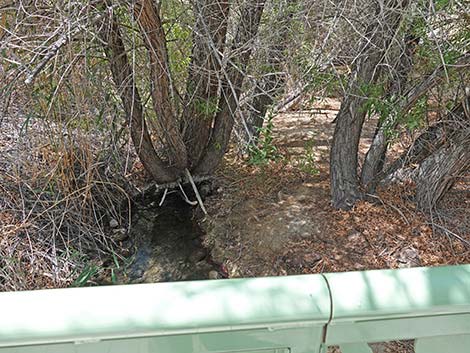 Corn Creek downstream (view SW) |
 Corn Creek downstream (view SW) |
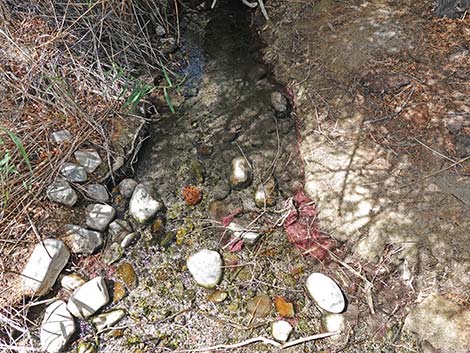
 Corn Creek upstream (view NE) |
 Corn Creek upstream; sometimes hard to see water (view NE) |
 Trail exits bridge at T-intersection (view NW) |
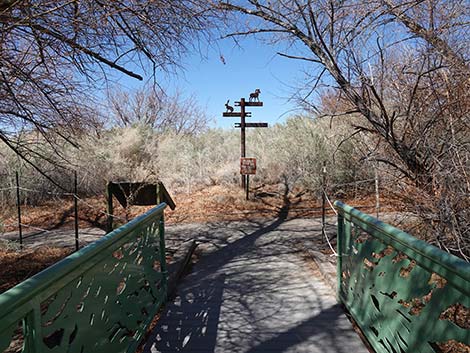
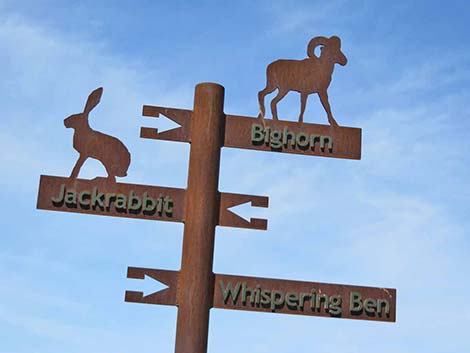 Directional sign at Jackrabbit-Bighorn trail junction (view N) |
 Bighorn and Whispering Ben trails to the right (view N) |
 Jackrabbit Loop Trail turns left at the T-intersection (view W) |
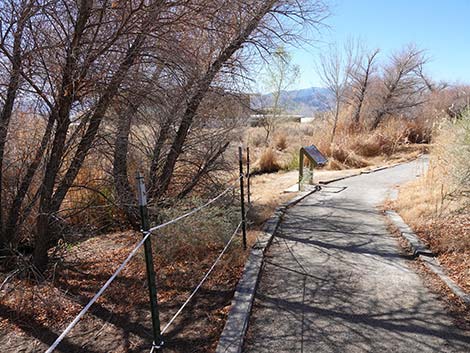
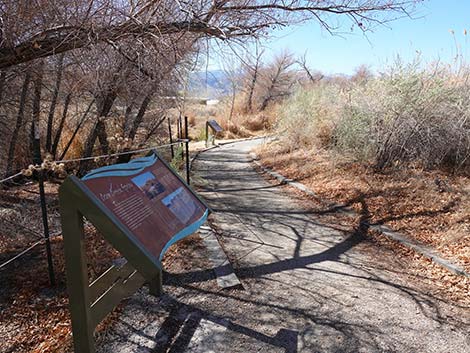 Information sign at the intersection (view SW) |
 Information sign at the intersection (view S) |
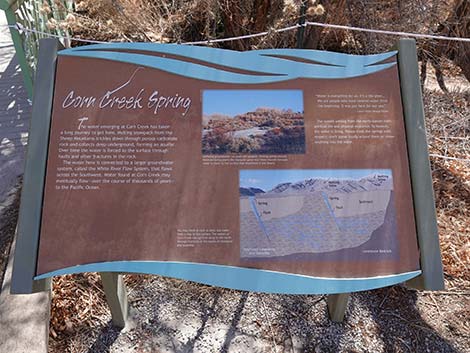
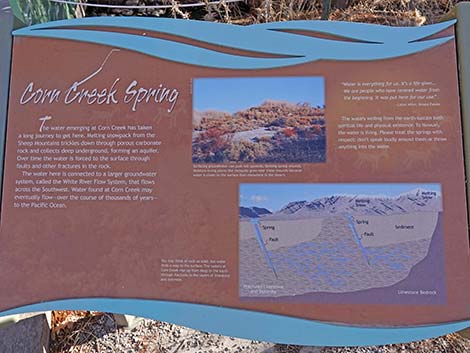 Information sign at T-intersection: Corn Creek Spring (view S) |
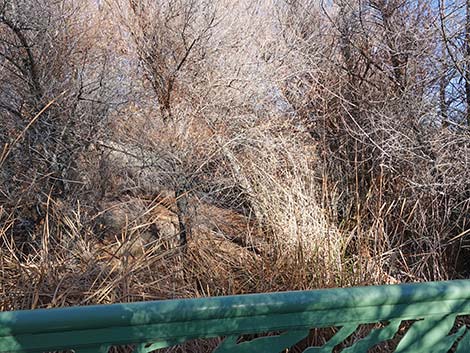
 Jackrabbit Trail continues under willow trees (view W) |
 Willow trees and view of the stream (view SE) |
 Jackrabbit Loop approaching another information sign (view SW) |
 Jackrabbit Loop arriving at another information sign (view SW) |
 Information sign (view S) |
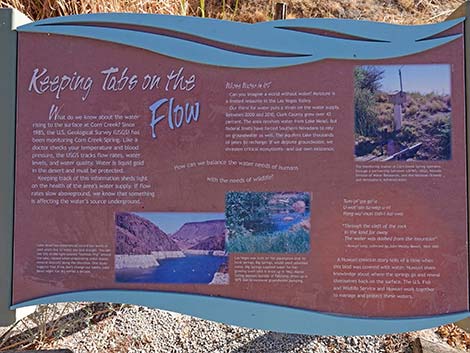 Information sign: Keeping Tabs on the Flow (view SE) |
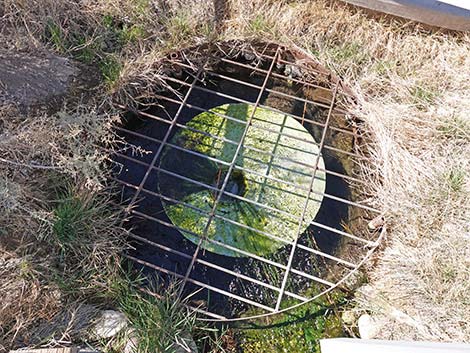
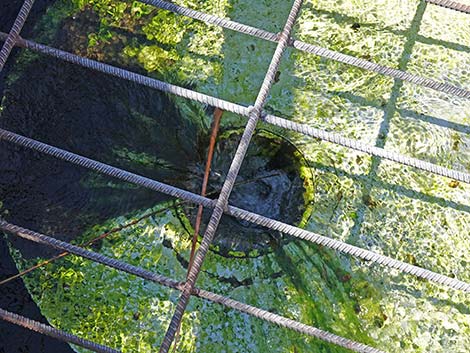
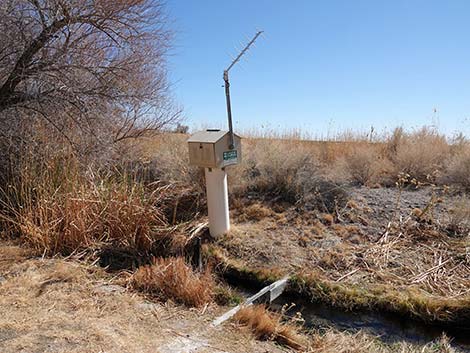 Stream flow gauge (view SE) |
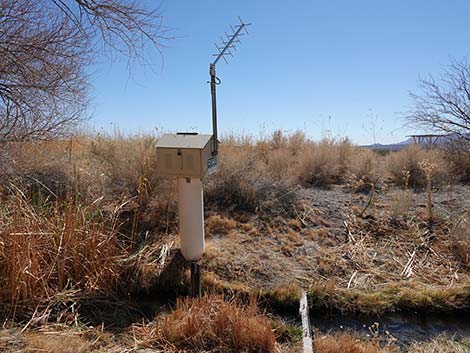 Stream flow gauge radios information to the cloud in real time |
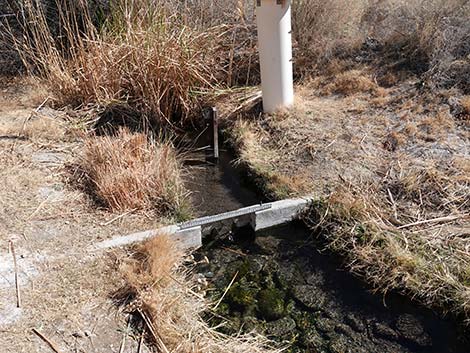 Stream flow is measured at the small dam (view SE) |
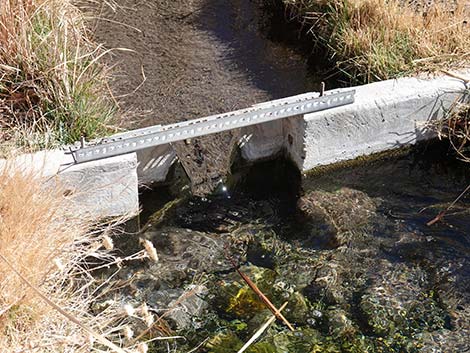 Stream flow is measured at the small dam (view SE) |
 Jackrabbit Loop continues past the information sign (view SW) |
 Jackrabbit Loop continues (view SW) |
 Jackrabbit Loop approaching junction with Coyote Trail (view SW) |
 Jackrabbit Loop Trail at Coyote Trail (view SW) |
 Jackrabbit Loop turns left and merges with Coyote Trail (view SW) |
 Jackrabbit Loop Trail approaching second bridge over the stream |
 Jackrabbit Loop Trail at the Cement Pond (view SW) |
 Bridge over the inflow stream (view S) |
 Cement Pond (view W from the bridge) |
 Water control structure intended to keep crayfish out of the pond |
 Water control structure intended to keep crayfish out of the pond |
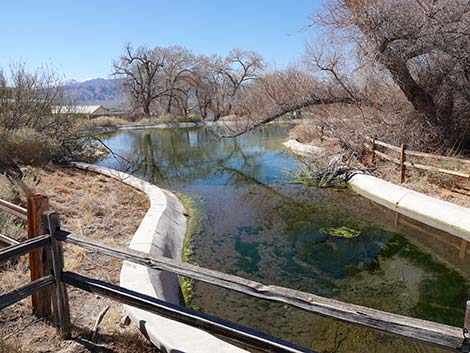 Look for Pahrump Poolfish in the Cement Pond (view W) |
 Jackrabbit Loop Trail continues past the bridge (view S) |
 Jackrabbit Loop continues (view SE) |
 Jackrabbit Loop returning towards the information kiosk (view SE) |
 Jackrabbit Loop stays right the information kiosk (view SE) |
 Jackrabbit Loop returning to the Visitor Center (view SE) |
Table 1. Hiking Coordinates and Distances based on GPS Data (NAD27; UTM Zone 11S). Download Hiking GPS Waypoints (gpx) file.
| Wpt. | Location | UTM Easting | UTM Northing | Elevation (ft) | Point-to-Point Distance (mi) | Cumulative Distance (mi) |
|---|---|---|---|---|---|---|
| 00 | Parking | 647195 | 4033585 | 2,912 | 0.000 | 0.000 |
| 01 | Trailhead | 647234 | 4033649 | 2,956 | 0.055 | 0.055 |
| 19 | Jackrabbit Tr at Bighorn Tr | 647251 | 4033693 | 2,922 | 0.048 | 0.103 |
| 02 | Coyote Tr at Jackrabbit Tr | 647206 | 4033675 | 2,940 | 0.031 | 0.134 |
| 01 | Trailhead | 647234 | 4033649 | 2,956 | 0.031 | 0.166 |
| 00 | Parking | 647195 | 4033585 | 2,912 | 0.055 | 0.221 |
Happy Hiking! All distances, elevations, and other facts are approximate.
![]() ; Last updated 240324
; Last updated 240324
| Hiking Around DNWR | Hiking Around Las Vegas | Glossary | Copyright, Conditions, Disclaimer | Home |